Table of Contents
There are cross-country skis that are waxable, while there’s a whole new branch of waxless cross-country skis too. Important note here, even waxless skis need waxing, and in the following article we are going to discuss all about how to wax cross-country skis.
How to Wax Cross-Country Skis – Waxing Guide
Every cross-country ski needs to be waxed, let it be waxable skis or any of the newer waxless cross-country skis. However, while regular classic cross country skis need both kick and glide waxing, waxless classic skis require only glide waxing.
Firstly, before we jump into the waxing process itself, we should answer some popular questions regarding cross-country ski waxing.
1. What is the Difference between Kick Wax vs Glide Wax
The kick and glide wax are different waxes for different purposes. While glide wax enhances the ski’s gliding ability when properly applied to the tip and the tail ends, also called gliding zones, kick wax is applied to the middle section of the skis known as repulsion or grip zone in order to ensure a steady grip when climbing uphill.
Kick wax is the same as a grip wax or climbing wax, and nowax skis with a scales pattern or skins do not need it.
2. What is Klister Wax?
Similarly to kick wax, klister is applied to the grip zone of waxable classic skis. Klister is used in especially warm conditions, around 0 Celsius, because it’s stickier than normal kick wax, and somewhat easier to be applied even in warmer weather.
3. Do New Cross-Country Skis Need to be Waxed?
You do not have to wax your new cross country skiing equipment, but it is recommended that you do. Mostly, new skis are waxed as much as five times in a row to ensure the base has properly absorbed the wax, so they should be ready for use after purchase.
However, the skis could be lying in the factory or shop for a long time, and if you just want to make sure that you will glide easily, feel free to add a thin layer of wax. Don’t worry, you can never over-wax your cross-country skis.
4. Why do Waxless Cross-Country Skis Need Waxing?
Waxless cross-country skis end up being slow in extremely cold snow but even when the sun is out and the weather is warmer, they end up picking up clumps of icy snow. This makes your skiing experience certainly not the ideal one.
Your skis’ glide zones need a thick coat of wax to give you the glide and keep the icy clumps at bay from sticking.
5. How do Waxless XC Skis Provide Grip?
In the case of a waxless cross country ski, no kick wax grips the snow, instead there is a fish scale pattern in the middle third of the XC ski. This creates friction (traction) when you move forward with your skis.
Although the fish scale skis save you from choosing and applying temperature-specific wax (grip wax) to your skis, yet, you still have to apply the glide wax on the remaining surface of the skis that do not have the pattern.
6. How to Wax Skate Skis?
Compared to classic cross-country skis, skate skis do not have a kick zone, so the entire base of the ski is a glide zone you need to glide way the entire ski accordingly.
Cross-Country Ski Wax Temperature Chart
Waxing cross-country skis is essential, however there are plenty of conditions you must consider when choosing which wax to apply to either the glide zone or the kick zone.
We gathered some of the most notable brands and wax types, as well as the temperature range and snow conditions you might encounter when skiing.
GLIDE WAXES | |||||
Conditions | from | to | from | to | Swix Glide waxes |
Normal snow conditions | +1 °C | -4 °C | 34 °F | 25 °F | CH8 / LF8 |
Wet snow | +10 °C | 0 °C | 50 °F | 32 °F | CH10 / LF10 |
Cold snow | -4 °C | 25 °F | CH7 / LF7 | ||
KICK WAXES | |||||
Conditions | from | to | from | to | Swix Glide waxes |
Fresh snow | +3 °C | 0 °C | 37 °F | 32 °F | V60 Red/Silver |
+1 °C | 0 °C | 34 °F | 32 °F | V55 Red Special | |
0 °C | -1 °C | 32 °F | 30 °F | V50 Violet | |
0 °C | -3 °C | 32 °F | 27 °F | V45 Violet Special | |
-1 °C | -7 °C | 30 °F | 19 °F | V40 Blue Extra | |
-2 °C | -10 °C | 28 °F | 14 °F | V30 Blue | |
-8 °C | -15 °C | 18 °F | 5 °F | V20 Green | |
Old, dry snow | +1 °C | -1 °C | 34 °F | 30 °F | V60 Red/Silver |
0 °C | -2 °C | 32 °F | 28 °F | V55 Red Special | |
-1 °C | -3 °C | 30 °F | 27 °F | V50 Violet | |
-2 °C | -6 °C | 28 °F | 21 °F | V45 Violet Special | |
-3 °C | -10 °C | 27 °F | 14 °F | V40 Blue Extra | |
-5 °C | -15 °C | 23 °F | 5 °F | V30 Blue | |
-10 °C | -18 °C | 14 °F | -1 °F | V20 Green | |
KLISTERS | |||||
Conditions | from | to | from | to | Swix Glide waxes |
Frozen, old snow | +3 °C | -5 °C | 37 °F | 23 °F | K21N Silver |
+10 °C | -3 °C | 50 °F | 27 °F | K22N VM | |
Moist, grained snow | +3 °C | -5 °C | 37 °F | 23 °F | K21N Silver |
Wet, old snow | +3 °C | -5 °C | 37 °F | 23 °F | K21N Silver |
+10 °C | -3 °C | 50 °F | 27 °F | K22N VM | |
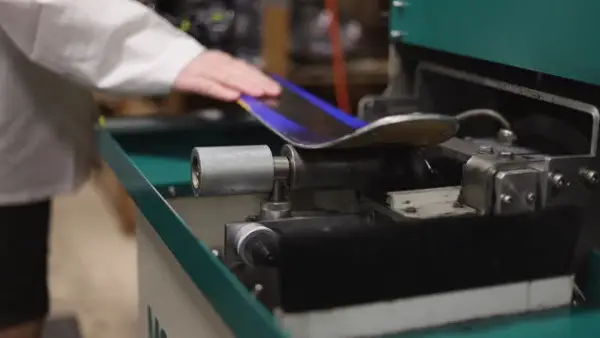
How to Glide Wax Cross-Country Skis?
For a beginner applying glide wax may seem like a waste of time and energy. But when you realize the mega difference between the ski performances with and without the glide waxing, you will never go cross-country skiing without applying it. Most recreational skiers also believe that having a waxless ski means taking your ski out of the box and start skiing. While you can do that, try applying the wax and see the difference.
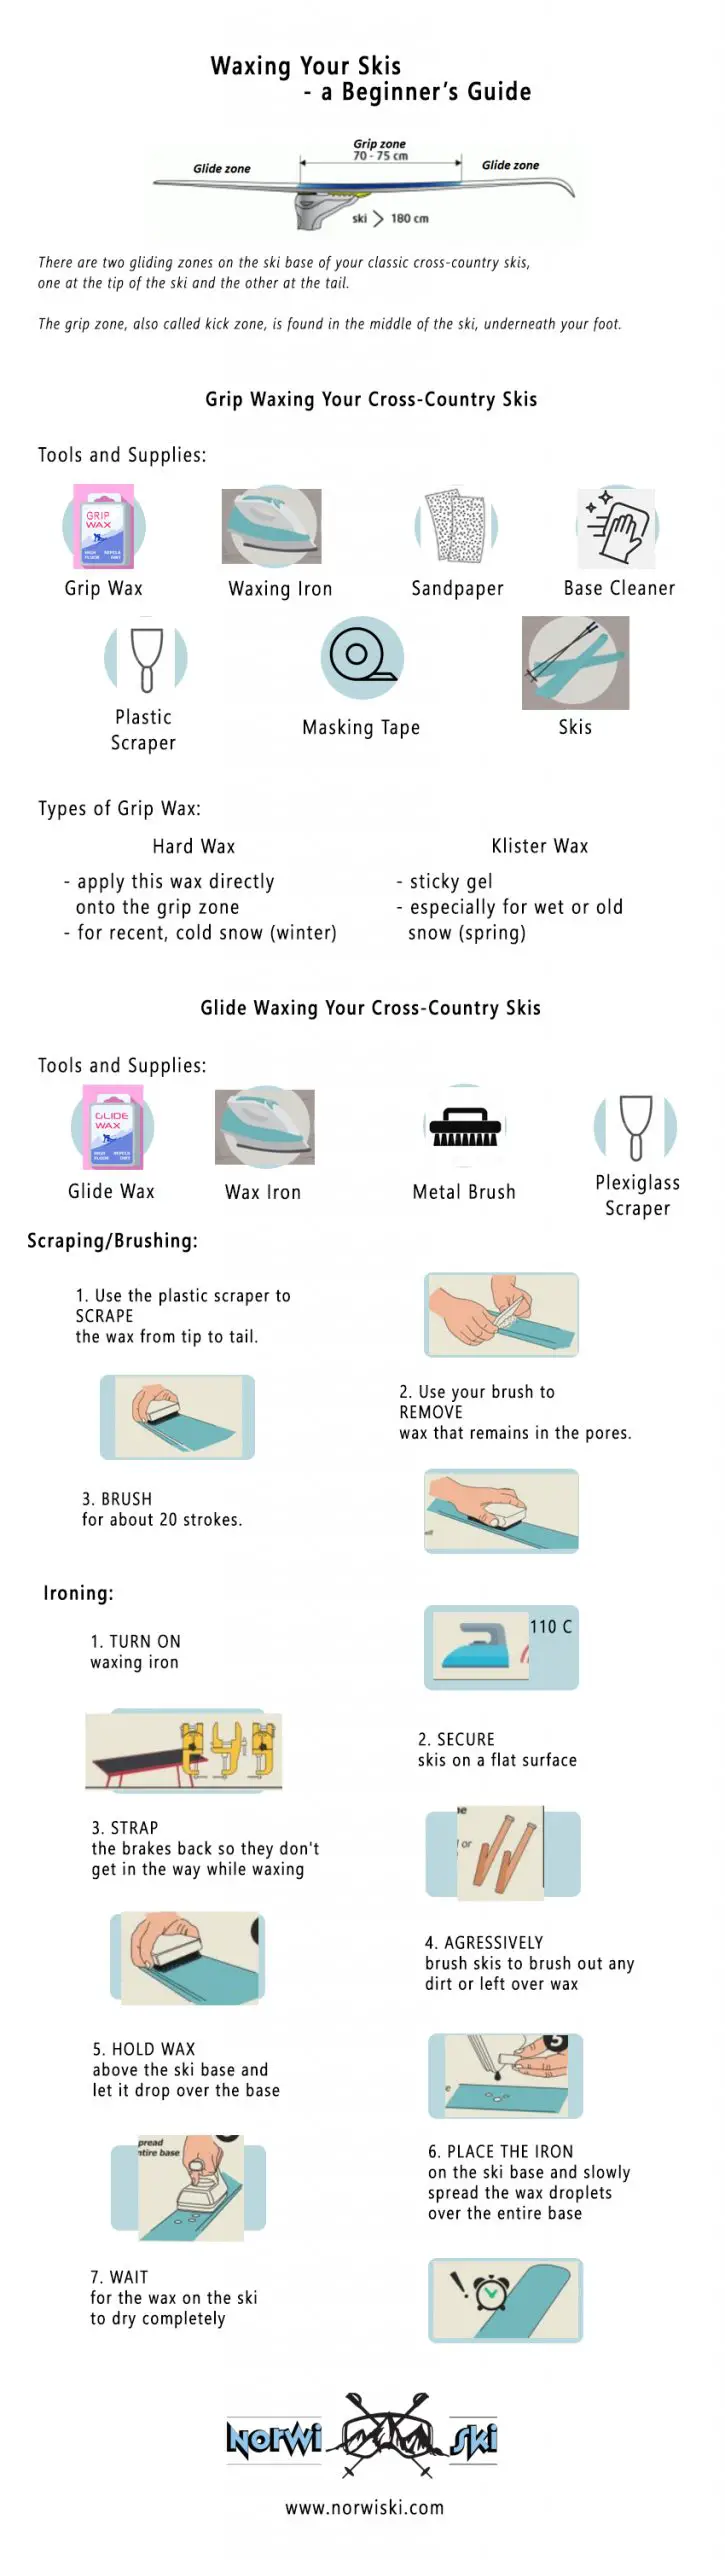
You need to apply the glide wax to the tip and tail portions of your XC skis. These parts known as gliding zones are constantly in contact with the snow.
You will need the following tools for glide waxing:
- Glide wax
- Waxing iron
- Metal brush
- Groove pin
- Plexiglass scraper
- Or a complete wax kit.
Follow the step-by-step guide below for instructions:
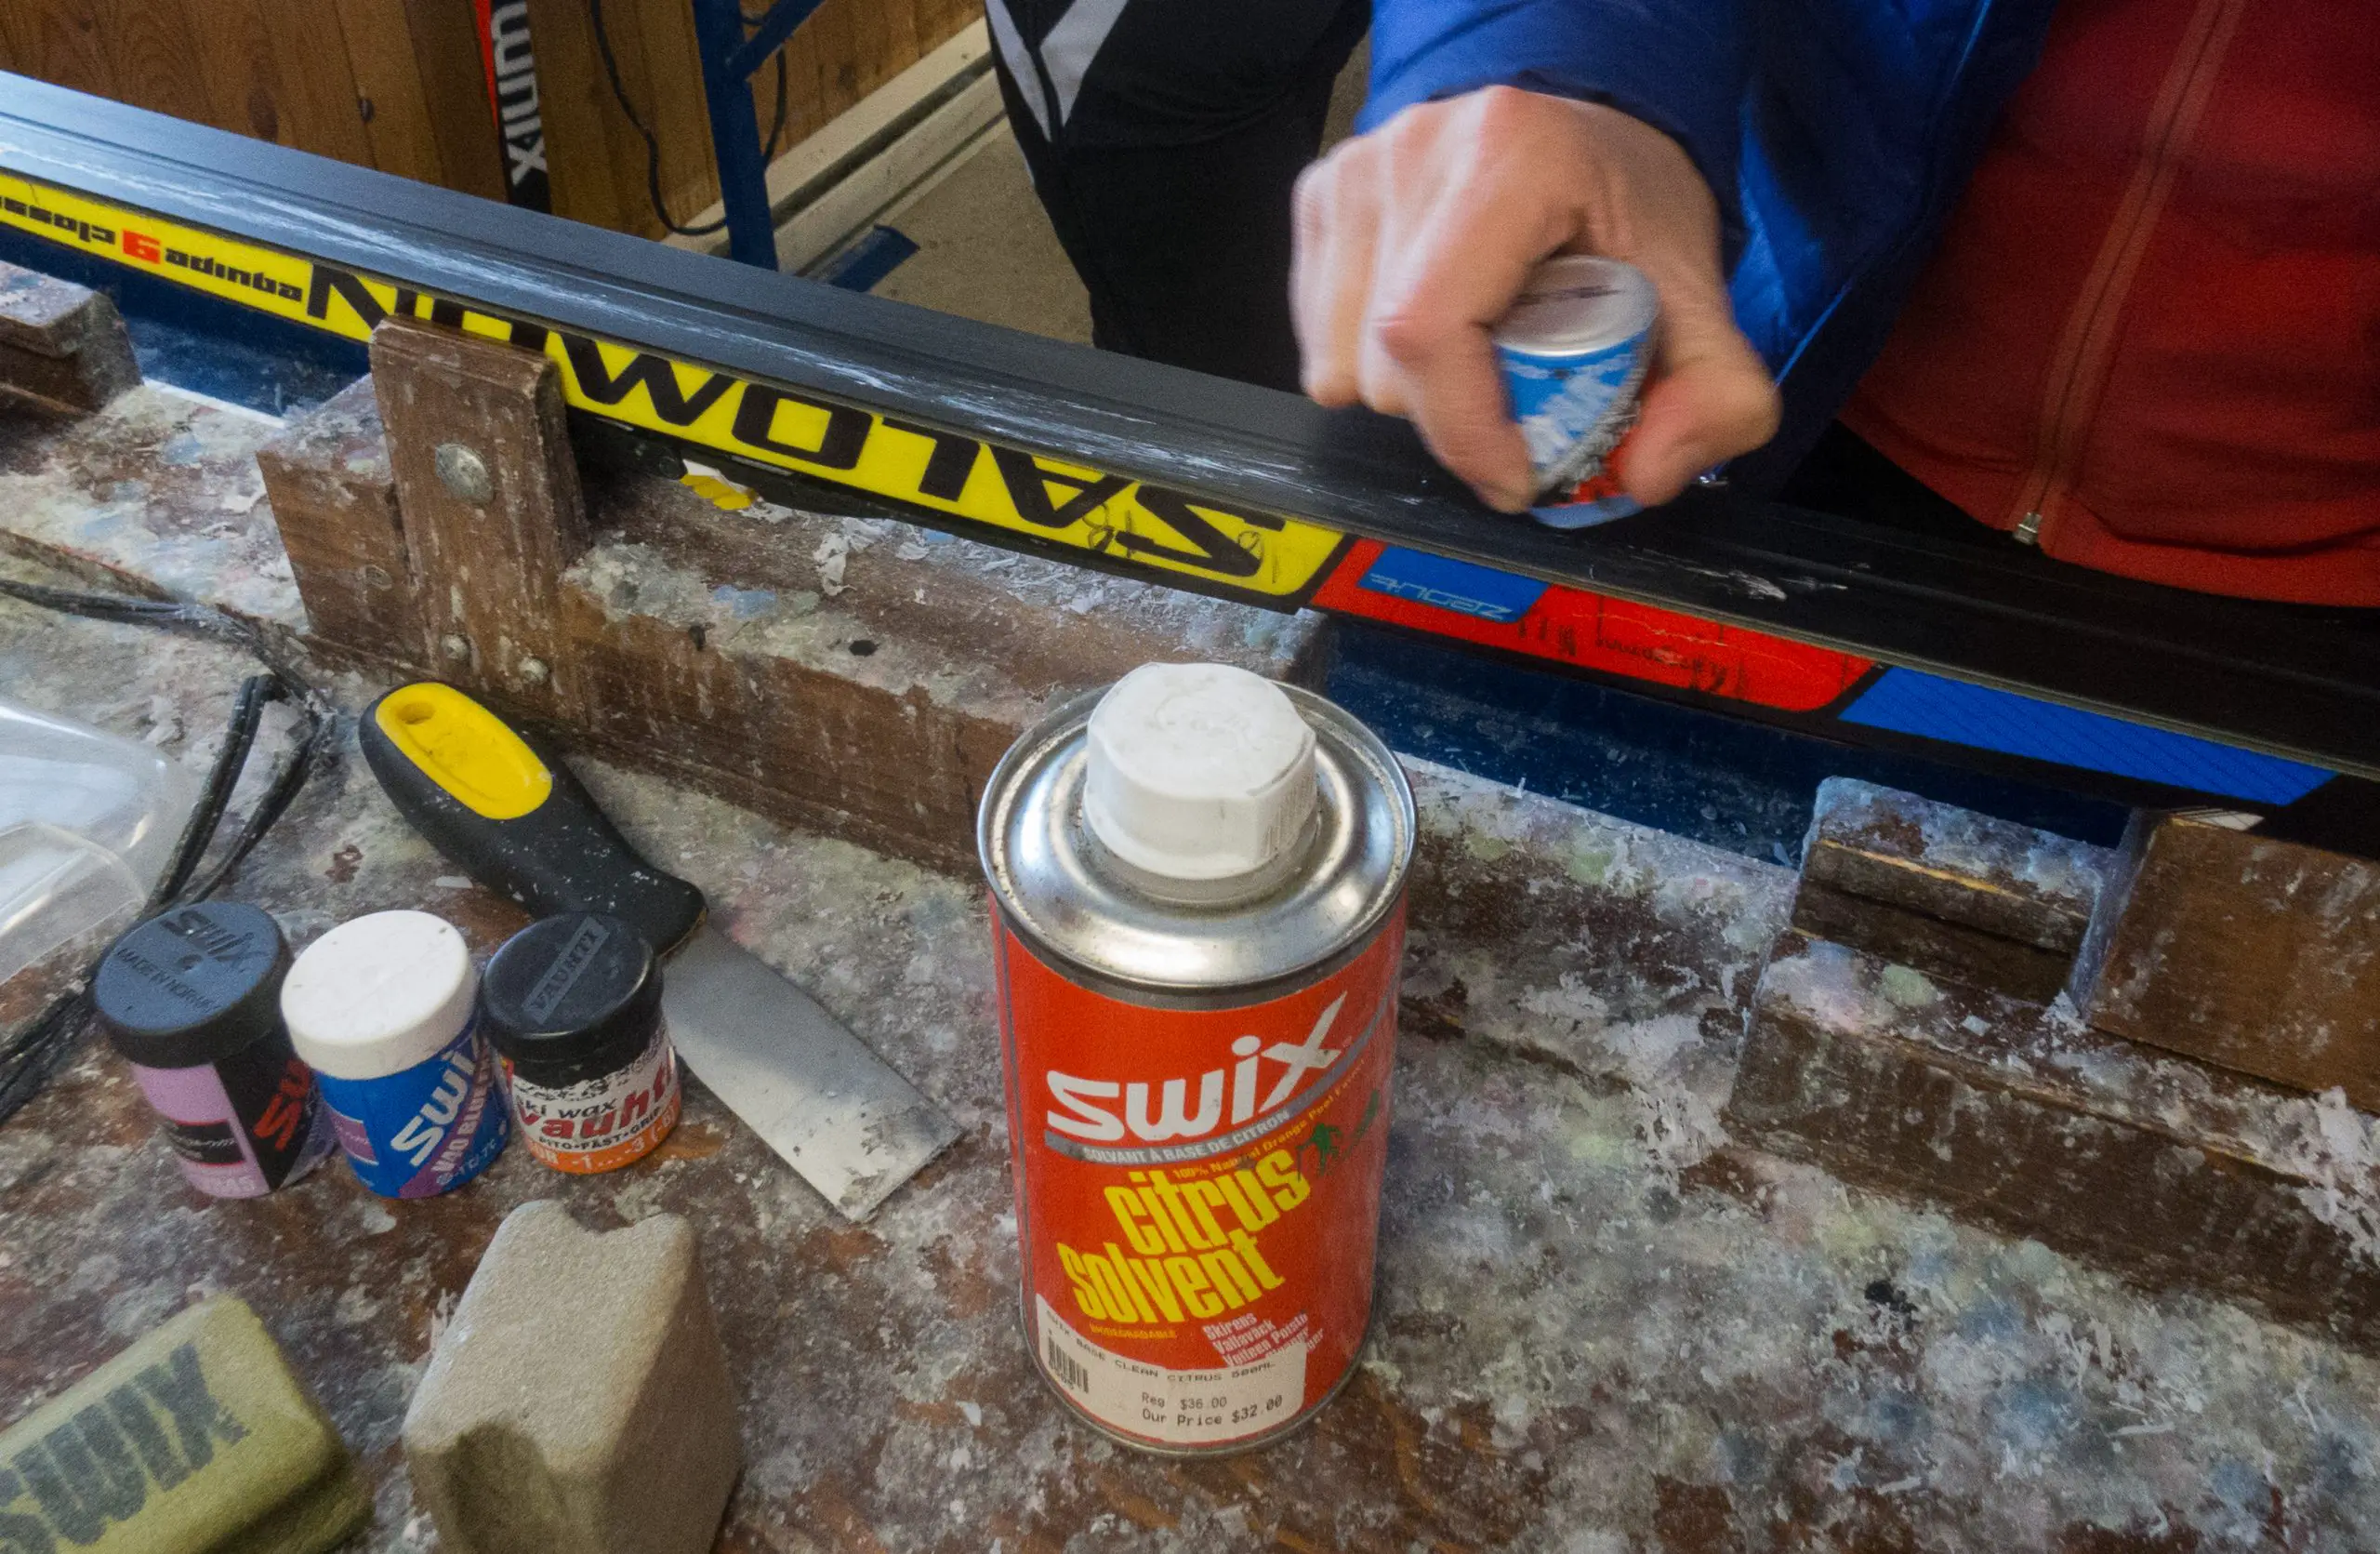
- Clean the ski and set the iron on the required temperature (check the wax’s label for exact temperature range).
- Once the skis are spanking clean, fasten skis in a base-up position, use clamps to fasten the skis.
- Hold a warm iron with its heated surface perpendicular to the base of your skis.
- Pressing the hard wax block against the hot iron, let the wax drip on the base of your ski.
Make sure the iron is not overly hot. Ideally, it should be at the lowest possible heating temperature that is hot enough to melt the hard wax. If you see smoke coming out of the wax, it means you have heated the wax with way more heat than required and this can even damage your XC skis.
- Melt the glide wax on your skis, evenly distribute it.
Make sure the wax does not drip on the kick zone, when you have enough melted blobs of wax on your glide areas, spread the wax on the entire surface in a slow-motion starting from one side and moving back in a smooth style back and forth.
- Let it cool off a bit. This may take at least 10 minutes.
- Scrape the groove as well as the edges of your ski.
Taking a scrapper and moving it softly lengthwise, remove the excess wax residue. Make sure you scrape the wax from the middle groove of your ski.
- From the tip of your ski to its tail, scrape the ski wax off the ski base.
- Brush with a metal brush until you get a shiny base (no patches).
- Finish it off by polishing with a gentle brush.
The hot wax you want on your skis should be absorbed in the ski base instead of accumulating on the base. If you feel you have not applied enough wax, you can always apply more wax to the initial layer in the same way you did before.
3 Reasons to Apply Glide Wax to Waxless Cross-Country Skis
- To avoid them from constantly sticking to the snow and enabling them to glide their way through the snow.
- To prolong the life of your ski. The glide wax protects your ski’s base by keeping it nicely coated and dirt-free.
- For safety reasons as the snow can get stuck in the base preventing you from proper movement. You need to glide freely as you don’t want to be stuck and left in the middle of nowhere.
How to Kick Wax Cross-Country Skis?
For grip/kick waxing, you will need the following items:
- Grip wax
- Waxing iron
- Fine Grade Sandpaper
- Base cleaner
- Plastic Scrapper
- Waxing cork
- Masking tape
You can kick wax your XC skis in 2 or 3 ways:
Use…
- brands of hard wax that look like a thick crayon;
- go for klister waxes that have a gelatin-like consistency;
- spray waxes for a quick-fix.
The approximate temperature and the snow conditions will determine what type of this wax will work best for you. Consult the wax temperature chart below.
Applying Kick Wax
The kick zone is the part that is under and ahead of the binding where you apply your new wax to. This way your cross-country ski grips the snow well and lets you move forwards. Here is how you will apply your kick wax to the kick zone:
- Using the masking tape, mark the front and back of the kick zone.
- With a plastic scraper, scrap the kick zone to get rid of the old wax. Using a soft cloth, rub a tiny amount of the ski base cleaner to remove dirt.
- Now take a fine grade sandpaper-wrapped cork and rub this area in both ways.
Applying Klister Wax
The Klister wax is quite sticky and sometimes harder to work with. It should ideally be used in conditions where the snow keeps on melting and freezing, as well as in relatively warmer weather. The Klister waxes are normally available in tubes.
To apply klister waxing, follow these steps:
- With the help of a sandpaper cork, rub the kick zone.
- Put ski base klister in the form of diagonal stripes.
- Heat the waxing iron to 110 degrees C (230 degrees F) and spread the klister smoothly. Once done, give it time to cool down and cork the area.
- Now in the same pattern apply either a temperature-specific wax or a universal wax and spread it out. The ski is waxed and is ready to be tested out.
Quick Waxing
There is a quick 5-minute method that involves purchasing a glide wax paste. You can apply this paste wax using an applicator (included in the package) and then use a rubbing cork to absorb the paste into the base.
Though this may not be a durable way of waxing and may well require you to wax multiple times in a season, this is by far the easiest and quickest way to wax skis. If you are a beginner or a recreational cross-country skier who does not want to invest a lot of time in waxing skis, you can use the wax paste and enjoy cross-country skiing.
Frequently Asked Questions
How Often to Wax XC Skis?
Regular maintenance and frequent waxing will definitely ensure the longevity and performance of your skis. However, the recommended frequency depends largely on what type of skier you are and how often you ski. As a general rule of thumb, you should tune skis every 4-6 days on average, but pay attention to drying your ski equipment – both your skis and ski boots – after each use. If you are a beginner, you may also take them to one of the ski shops for a hot wax.
It depends on how often you ski and the conditions you ski in. Ideally, as soon as you start feeling that the coating has become irregular, or when the graphite coating (which is black) starts turning grey, you should wax the skis.
Can I Use Liquid or Paste Waxes Instead of Hot Waxing?
Yes. The liquid glide wax (or paste waxes) are believed to be more long-lasting than the hot waxes. When liquid or paste ski waxes are applied to the ski, the liquid penetrates to the pores of the ski base, making your ski glide for a long time.
How Long Should it Take to Wax My Waxless Cross-Country Skis?
The time it takes for you to wax your waxless cross-country ski depends upon your choice, your expertise, as well as the time you have in hand (in case you are in a hurry). You can wax your waxless ski in 5 minutes if you just want to quickly head out.
However, it is more like a quick-fix and not recommended for the long-term. In normal conditions, it may take you around 30 minutes to treat your waxless cross-country skis.
Should I Use a Summer or Storage Wax on My Waxless XC Skis?
Yes, you can. Summer waxing can prevent the skis from drying out when they are not in use.
Can I Use Old Glide Wax on My Waxless Cross-Country Skis?
Yes, you can. Glide waxes don’t expire unless something goes wrong with them or some external factor affects them.