Table of Contents
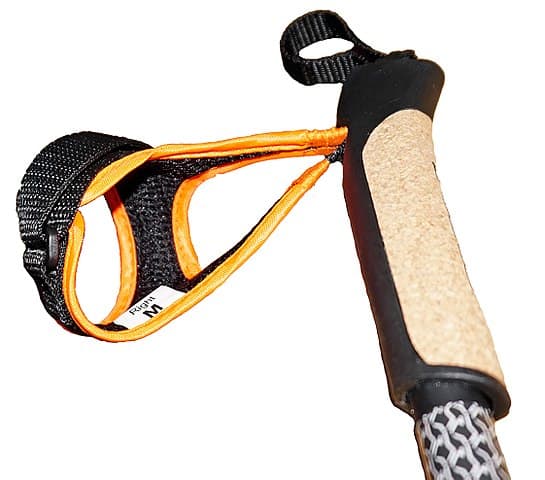
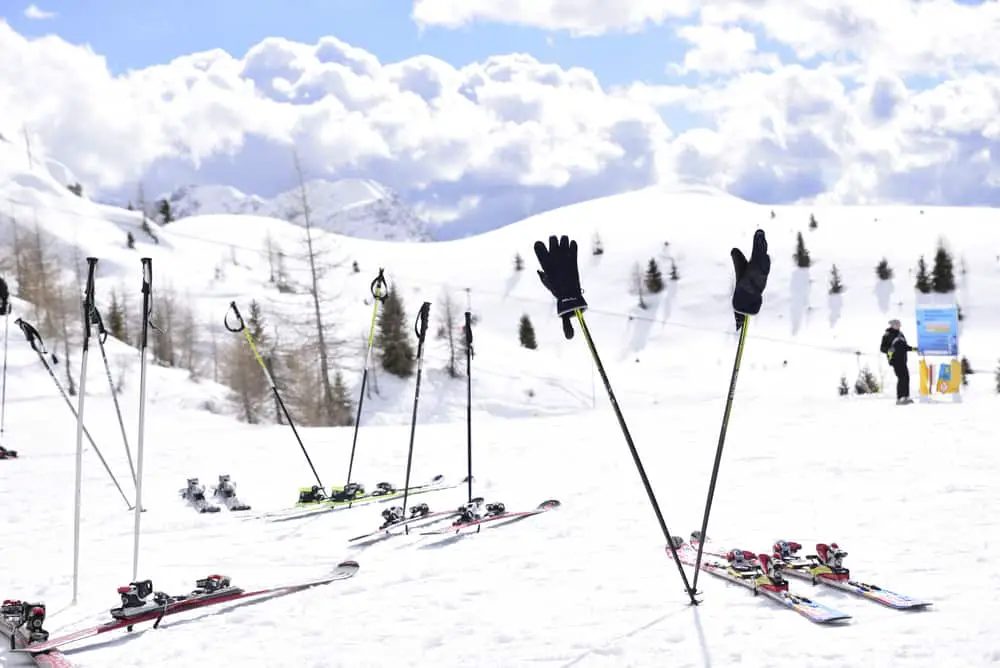
Over time, cross-country ski equipment is bound to deteriorate, and XC ski poles are no exemption. When the shaft remains intact, there’s no absolute need to invest in new poles. Opting to replace the worn-out grips yourself can often be a practical solution.
How to Remove Cross Country Ski Pole Grips without a Heat Gun
To remove cross country ski pole grips without a heat gun, boil water and pour it over the grip. Insert a screwdriver, gently twist to create a gap, work around the grip, slide it off, and clean any residue. This facilitates maintenance, customization, repairs, or upgrades, ensuring a comfortable and enjoyable skiing experience.
While heat guns can swiftly remove grips, they may cause irreversible damage. On the other hand, boiling water offers a widely accessible alternative, utilizing a stove and large kitchen pot. However, this method demands more time, often taking up to 20 minutes. In either scenario, apply your chosen heat source to the grip, ensuring complete submersion when using boiling water.
Step by Step Guide to Remove XC Ski Pole Grips
To remove cross country ski pole grips, follow these simple steps:
Step 1: Gather Your Tools
Assemble a flathead screwdriver or a grip removal tool, a large kitchen pot, gloves, and a stove.
Step 2: Boil Water
Fill the pot with water and place it on the stove to boil. Once boiling, carefully carry the pot to your workspace.
Step 3: Submerge the Grip
With gloves on, fully submerge the grip into the boiling water. Leave it in for several minutes to loosen the adhesive.
Step 4: Create a Gap
While wearing gloves, carefully insert the flathead screwdriver between the grip and the pole shaft. If you have a grip removal tool, follow the manufacturer’s instructions. Gently twist the screwdriver or tool to create a gap between the grip and the pole.
Step 5: Gradually Loosen
Gradually work your way around the grip, gently twisting and pushing the screwdriver or tool further in as you go. The goal is to break the grip’s bond with the adhesive. Take your time and avoid using excessive force, as this can damage the grip or the pole.
Step 6: Slide Off the Grip
As the grip becomes more pliable, gently slide it off the pole. Be patient and avoid applying excessive force.
Step 7: Clean the Pole
With the grip removed, you may notice some adhesive residue on the pole shaft. Use a clean cloth and a gentle adhesive remover to clean off any remaining glue. Make sure the pole shaft is clean and dry before attaching a new grip.
Reasons to Remove Grips
There are several reasons why you might need to remove the grips from your cross country ski poles:
Maintenance
Over time, grips can become worn, torn, or dirty. Removing and cleaning or replacing them can extend the life of your equipment and ensure a more comfortable skiing experience.
Customization
Some skiers prefer different grip materials or shapes to suit their preferences. By removing the existing grips, you can replace them with ones that better suit your needs.
Repairs
If a grip is damaged or cracked, it’s essential to remove it for repair. This prevents further damage and maintains the integrity of your pole.
Upgrades
As technology evolves, ski pole grip designs may improve in terms of ergonomics or functionality. Removing old grips allows you to upgrade to the latest options available.
Conclusion
Knowing how to remove cross country ski pole grips is an important skill for any avid skier. Regular maintenance, repairs, customization, and upgrades all require the ability to remove and replace grips effectively. By following the step-by-step guide outlined in this article, you can confidently remove ski pole grips without causing damage to your equipment. Remember to take your time, use the proper tools, and exercise caution to ensure a successful grip removal process. Whether you’re looking to refresh your gear or prepare for a new season, mastering this skill will contribute to a more enjoyable and comfortable skiing experience.