Table of Contents
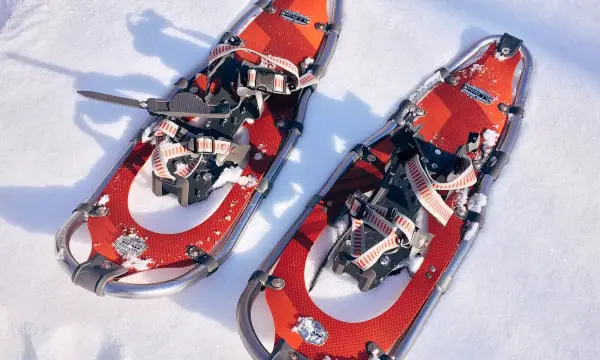
Snowshoeing is also a great fitness routine to try out because it is extremely easy to pick up on. You do not need extensive training or professional certificates – however you do need some time to maintain your physical condition and train your muscles before heading out to get the most of the experience.
How to Get in Shape for Snowshoeing
Being prepared is key to making the most of the snowshoeing season. The earlier you start training, the better shape you will be in once the snow sets in. Not only that, but pre-season strength training will also prepare your muscles and prevent knee or lower back injuries.
The best time to begin is at least six weeks early. This gives your body enough time to first get limber, explore its full range of motion, and then get comfortable with strenuous exercise.
It also helps build stamina and breath control, both of which are important when it comes to an activity such as snowshoeing. Here are some exercises to kick off your preparation with.
What Muscles Does Snowshoeing Work?
Snowshoeing generally works your core strength for which you will need strong core muscles, but the most of the work is done by your lower body muscles, including the hip flexors and rotators, abductors and adductors (the hips and the thigh), as well as the hamstrings, calf muscles, glutes and quads.
Best Exercises for Snowshoeing
1. Walking Lunges
To develop a stronger and longer stride, it is imperative for the psoas muscles (muscles involved in taking forward steps) to be limber. This move helps with exactly that.
-
- Stand on your left foot and place your right foot about a leg’s length back.
- Then bend your left knee while lunging down.
- Make sure your right leg is straight or just slightly bent, and also align your left knee on top of your left ankle.
- Once you are in the right position, lay both your hands over your left thigh, straighten your shoulders, tuck in your lower back, and feel your psoas muscles stretch.
- Repeat with the other leg.
Psoas muscles, if relaxed and stretched out, i.e., in good shape, will relieve and also prevent back pain. This will make a huge difference in your snowshoeing experience: your psoas muscles will be ready to take on the load as you run on your snowshoes.

2. Spinal Twist
It’s not only the lower back that matters for snowshoers; in fact, the upper back is just as important. If the upper body is tight and unable to explore its full range of motion, the shoulders will take all the impact of the many arm movements you make. This can cause all sorts of problems, from mild inflammation to a proper frozen shoulder. However, spinal twists can help prevent these.
-
- Start in standing position with your feet slightly apart.
- Then take a step forward and stop mid-stride.
- Now, as both your feet are placed stably on the floor, stretch out your arms to one side.
- Move one arm right behind you while you bring the other arm in front of you.
- Twist from the hips to the shoulders while slightly twisting the body.
- Hold the pose for at least a minute, and then change sides.
The spinal twist can be modified as per your own preference. Try different ways as you go and see which suits you best.

3. Hamstring Stretch
Tight hamstrings are a snowshoer’s biggest woe. Your legs carry all your weight, as well as the extra weight of your supplies – if the hamstrings are not strong enough, the knees will take on all the impact and might give in soon.
Let’s just say the health of your hamstrings will determine how far you go on your hike.
If we have you convinced now, prepare for a hamstring stretch.
-
- Place your feet shoulder-width apart and your hands on your hips.
- Now, begin tipping forward by lifting your tailbone up.
- Align your spine, so it is parallel to the floor, and then plant your hands just below the knees.
- To ensure your position is correct, do not let yourself round your lower back.
A common tip for this is to imagine that your pelvis is a bowl of water, and you wish to slowly pour the water on your toes.
Depending on your flexibility, this stance is either how far you can go or just the beginning:
-
- If you feel you can continue moving forward, stretch the top of your head towards your feet and relax your arms as you do.
- At this point, you should feel your hamstrings really stretch and burn. Hold the position for 30 seconds or for as long as you can. Six repetitions for one or two sets should do the trick.
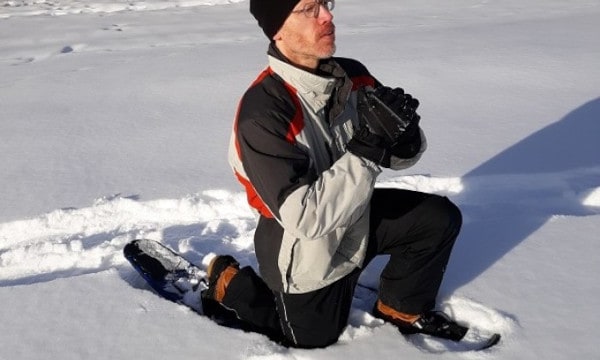
Religiously following these tips and exercising at least six weeks before snow falls will train your body well for the upcoming snowshoeing season. You can also change up the exercises according to your strength and stamina.

4. Stretch Routine
Anyone who works out in any form or way knows the rule: warm up before you head out. Snowshoeing is no different. In fact, since snowshoeing involves longer periods of time at lower temperatures, thereby requiring more energy and engaging more muscles, stretching for snowshoeing becomes all the more important.
In colder weather, your muscles tend to become tight and stiff and more prone to injury than usual. Subjecting them to sudden physical activity in that stiff state then poses a risk of muscle strain, muscle damage, and joint pain.
When it comes to snowshoeing, this will impact the lower back, knees, and legs the most. This explains why lower back pain, knee pain, and hamstring problems are the most common complaints snowshoers have.
To prevent these problems, ensure a round of stretching before each snowshoeing run. The stretches are simple, but the benefits are big. We recommend ten to fifteen minutes of a series of:
-
- Standing forward bends
- Standing calf stretches
- Heel drop stretches
- Standing quad stretches
This basic stretching routine prior to snowshoeing will safeguard your hamstrings and lower back from sprains and pains and keep your limbs flexible and healthy. Whether you’re a professional snowshoer or a hobbyist, health and safety are equally important for you to enjoy the sport.
Common Injuries for Snowshoers
Like all else, snowshoeing also comes with its own set of problems. These include:
Hypothermia
Since snowshoeing takes place in low-temperature, snow-covered settings and can often take a couple of hours at a time, there’s the natural risk of hypothermia.
Hypothermia is not just ‘feeling cold.’ It is when the body reaches uncomfortably low temperatures (35C/95F), and muscles cease to function optimally. Hypothermic individuals get slurred speech and lose their balance. If worsened, their pulse will weaken, and their breathing will get heavy. When it comes to hypothermia, prevention is key.
Layer up with warm clothing, and keep your body well hydrated since the fluid also helps with thermoregulation. Similarly, for frostbite, the best solution is prevention: wear proper snowshoeing gear to protect your limbs from low temperatures, and drink plenty of fluids.
Knee Injury
Another ailment associated with snowshoeing is a knee injury. These injuries range from mild knee pain and discomfort to severe tendonitis and ligament tears and must be guarded against.
The most common problem snowshoers face is Chondromalacia, also known as Hiker’s Knee. As one misstep causes you to plummet through the deep snow, dragging your bodyweight against your legs, your knees brace themselves for the impact.

This tightens and stretches the unprepared tendons and ligaments, eventually leading to severe pain around and underneath the kneecap.
Chondromalacia can make downhill treks – even one down the stairs in your house – particularly uncomfortable. Not only that, but a knee once injured is more prone to new injuries in the future. For this reason, snowshoers are encouraged to wear knee braces to provide additional support to the knees.
The use of trekking poles also divides the load with the knees and will ease the pressure off them. Apart from this, a regular routine of leg exercises such as sumo squats, calf raises, weighted step-ups, and leg extensions with ankle weights will strengthen your quadriceps and take off added pressure from the knees.